In Metroid for the NES, there are a variety of upgrades that increase your power, help you survive, and allow you to progress. Below is a Metroid Upgrades Guide that will guide you through getting all upgrades in Metroid.
How to Get All Upgrades in Metroid
How to Get the Morph Ball
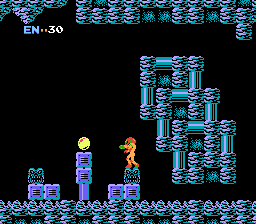
The morph ball is the first upgrade of the game, and an essential one to gather. When you enter the game, go left and you will see the morph ball upgrade on a pedestal. Obtain it by jumping on it.
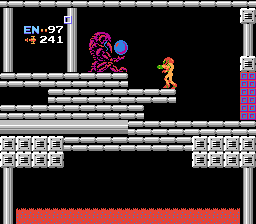
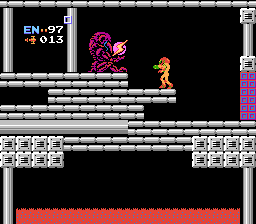
How to Get the Missiles
Missiles are necessary to obtain most other upgrades. From the start of the game, go three screens right until you reach a tall, blue, vertical room. Avoid enemies and jump up until you see a door on your right. Take it, and then proceed to the next screen. Go down the yellow shaft until you see a door on your right. Enter it, and proceed right. The first missile pack will be on a pedestal in the center of the room.
How to Get Bombs
Bombs are a necessary component to beating the game, and are found in Brinstar. From the start of the game, go three screens right until you reach a tall, blue, vertical room. Jump up until you see a door on your right. After a short hallway, you will be in a tall yellow room. From the tall yellow room, proceed directly right until you find an energy tank. After one more door, go up in this yellow room until you see a door on your left. Enter it, and go left until you see a red door. Use missiles to open the door, and bombs are on the other side.
How to Get the Hi-Jump Boots
After you find bombs, the game opens up quite a bit. Theoretically, you can obtain many of the next power-ups in different orders, and some of them are purely optional. However, for the sake of progression, let's get the Hi-Jump Boots.
Hi-Jump boots are found in Norfair, the first pink area of the game. From the start of Norfair, head immediately right and keep going until you reach a long vertical room. Go down as far as you can, and then bomb along the floor until one of the tiles opens up. Proceed down until you see a door on the left. Enter it, and keep going left until you reach the red door. Use missiles to open it and the Hi-Jump Boots are on the other side.
How to Get the Ice Beam
How to Get the Ice Beam in Norfair
From the Hi-Jump boots, we can continue gathering upgrades in Norfair. Go right from the Hi-Jump Boots until you reach a long vertical shaft. Go up, going back towards the beginning of Norfair. However, instead of going right at the second door, continue up until you another door. For reference, this is the third left-facing door in the room. Open it, and on the other side, shoot the far wall until you reveal a secret entrance. Go through it, and after another missile door, the Ice Beam will be yours.
How to Get the Ice Beam in Brinstar
In Brinstar, there is also another version of the Ice Beam available. From the Bomb powerup room, go right until you reach the vertical yellow room. Go down until you see a door to your left. Keep going left past the energy tank until you enter the first hallway. Bomb the floor to reveal a hidden passage downwards. Go down, and to the left, and the Ice Beam is there past another missile door.
How to Get the Screw Attack
From the Ice Beam the Screw Attack is the next logical upgrade to get. From the Hi-Jump Boots, bomb the ground under the upgrade to reveal a tunnel that will take you deeper into Norfair. The Ice Beam is required to ascend here without the use of glitches. Freeze the enemies to jump up, and continue left. Continue left through the hallway, across another room, and through the door to reach a green room. Shoot upwards until you see an open spot, and then jump up, timing it so that the block reappears as you are above it. Go left and, after another missile door, the Screw Attack will be yours.
How to Get the Long Beam
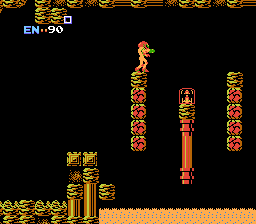
The Long beam is theoretically available after you acquire missiles. From the start of the game, go right until you reach a long vertical blue room. Go up until you see a door on your left. Enter it, and after a missile door, the Long Beam will be there.
How to Get the Varia Suit

The Varia Suit is available after acquiring missiles, the Hi-Jump Boots, and the morph ball. From the start of the game, go right until you reach a long vertical blue room. Go up until you see a door on your right. Enter it and proceed down the hallway. In the next room, go up until you see a door on your right. Enter it, and proceed right. Use the morph ball to go through the top pipe and enter the next door. Shoot up in this room to reveal a secret passage. Jump up, and then use the Hi-Jump Boots to jump up and to the left. Enter the door, and after some platforming, enter another missile door to claim the Varia Suit.
How to Get the Wave Beam

After you acquire bombs and missiles, the wave beam is a possible upgrade. However, the ice beam allows you to progress faster and easier through most of the game. But, if more damage is your goal, then the wave beam might be what you're after.
From the start of Norfair, proceed right until you are at the bottom of the long, pink, vertical room. Bomb the floor to enter the second half of Norfair. Then, proceed as you would to acquire the Screw Attack. Go left through the first door, then bomb the floor in the room for the Hi-Jump Boots, then all the way left, ignoring the Screw Attack secret, until you are in a long vertical room with lava at the bottom. Go into the lava, which won't hurt you, and bomb the floor to reveal a secret. Go down and to the right, and enter the door. Go right through three more doors until you reach a hallway, again, with lava in it. Bomb right next to the left door to reveal a secret passage that, after a few more obstacles and a missile door, will lead you to the wave beam.
Thank you for using our Metroid Upgrades guide!
